What can I do inside Ferryman?
Import Animation
To upload your own animation you can either use the button on the landing page to choose a file from your system, or you can just drag and drop the file into the window. If you don't have an animation on hand, or just want to check out how StreamShapers Ferryman can be used, you can also check out one of our samples. These samples are made according to our recommendations and are meant to give you an idea what your own templates could look like.
Inspect your Animation
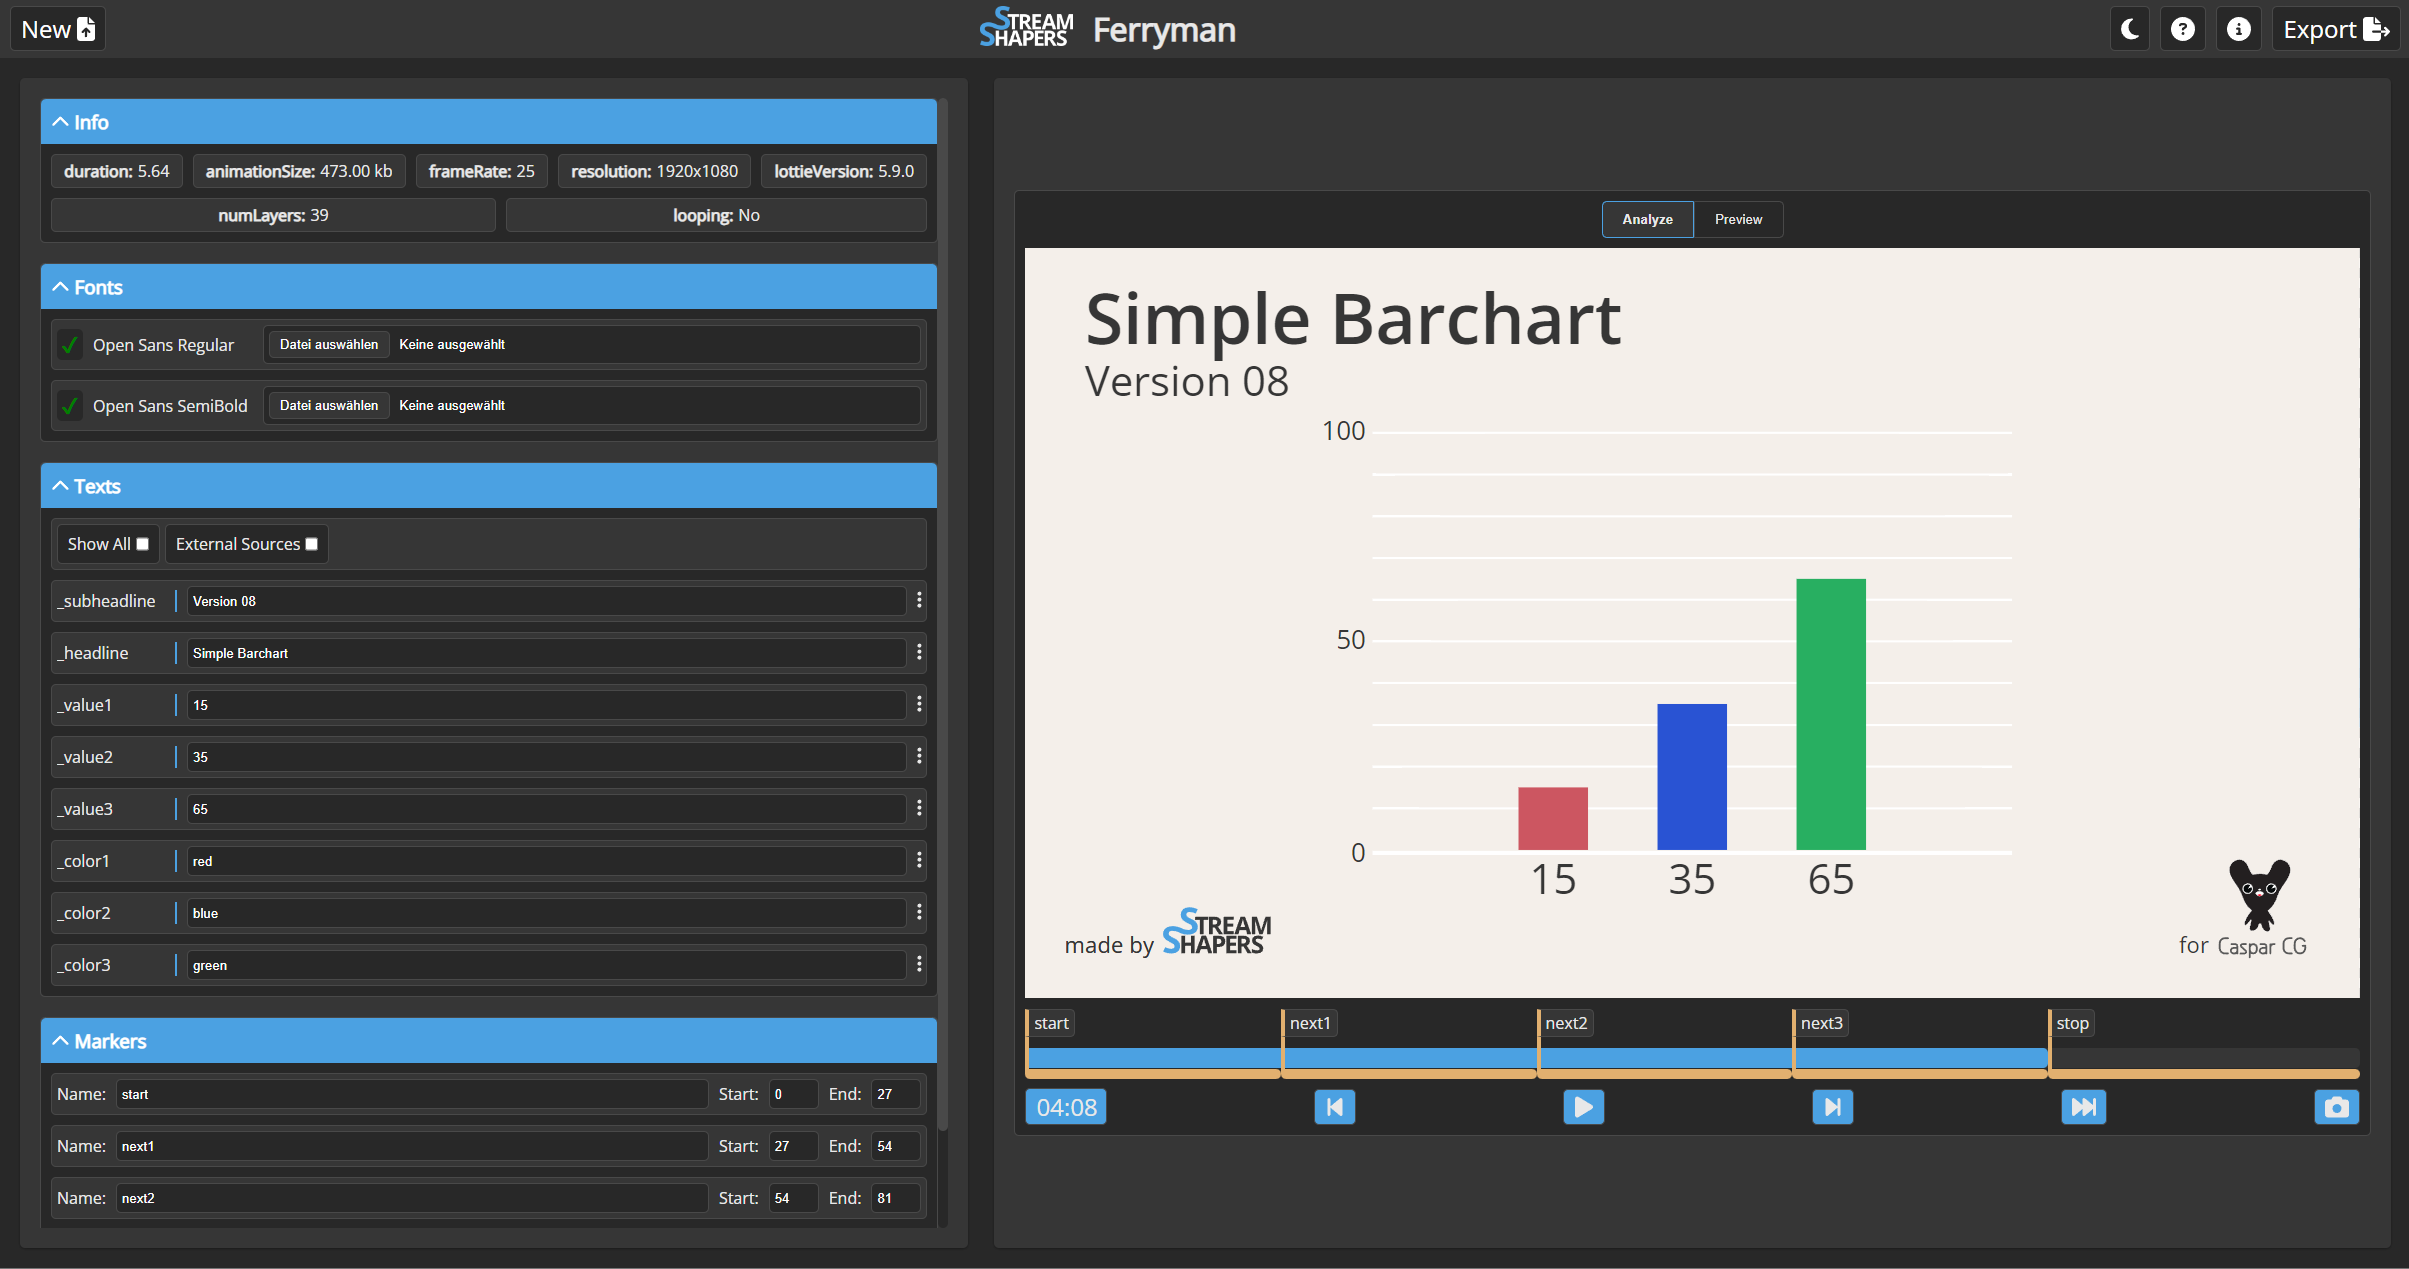
Once an animation ist loaded into StreamShapers Ferryman you will have an animated live preview of your template on the right hand side and options to test and make sure it works as expected on the left hand side.
Infos

Check all general infos from you template.
Fonts
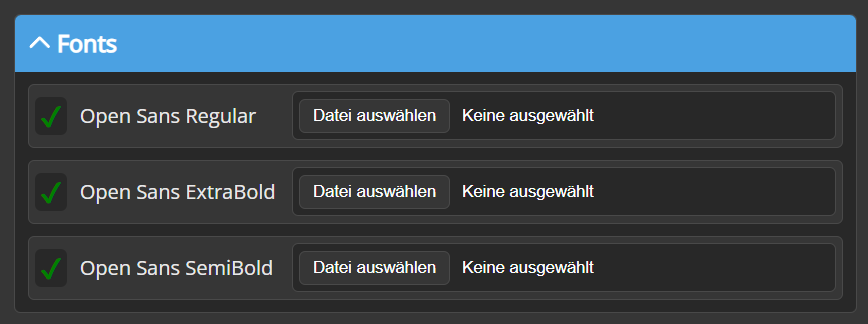
The "Fonts" tab shows you the fonts that are embedded inside your LottieFile, if you did not embed your fonts, the fonts will not be right in the preview because and StreamShapers Ferryman will display your text in some default font instead. However, you can Upload your font files now if fonts were not embedded. Fonts have to be: ".ttf" or ".otf" or ".woff".
Text-Layers
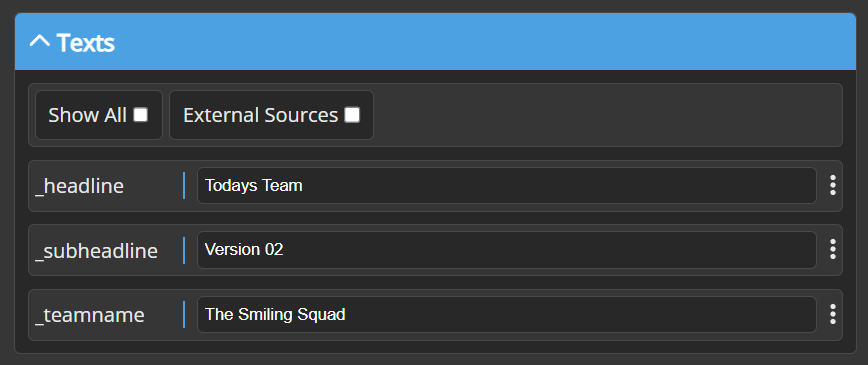
The "Texts" Tab should show text inputs for your text layers that you named with a leading underscore "_", when you change the input, the preview should automatically update.
Starting you layername with an "_" underscore is a convention for our template to have a better overview on dynamic layers. You can find all of the necessary convention here.
Image-Layers
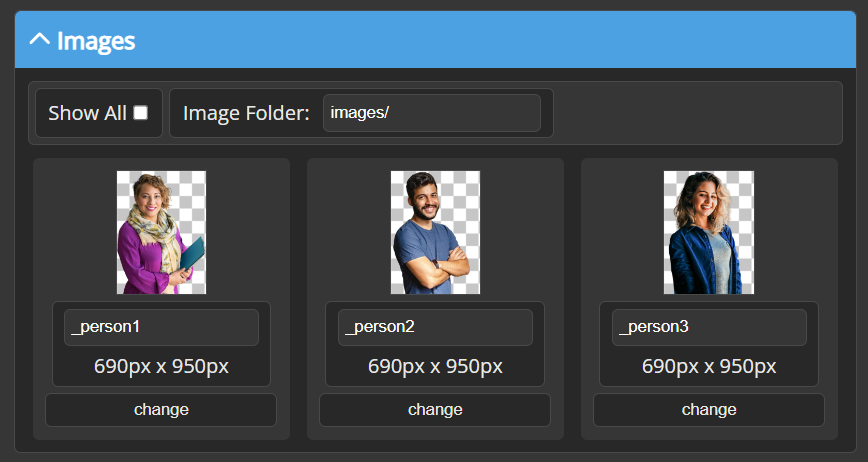
The "Images" Tab should show all the images that are embedded within your LottieFile and named with a leading underscore "_".
By default the template expects images to be in a folder "images" next to the template. With the Image Folder option, you can change the Image Folder. If you want to make your images changeable, this might be helpful, so you can sort the images yourself. This works just in native CasparCG environment.
The "Image Folder" option works just in native CasparCG environment. If you are using SPX-GC you need to define the folders in the export settings.
Markers
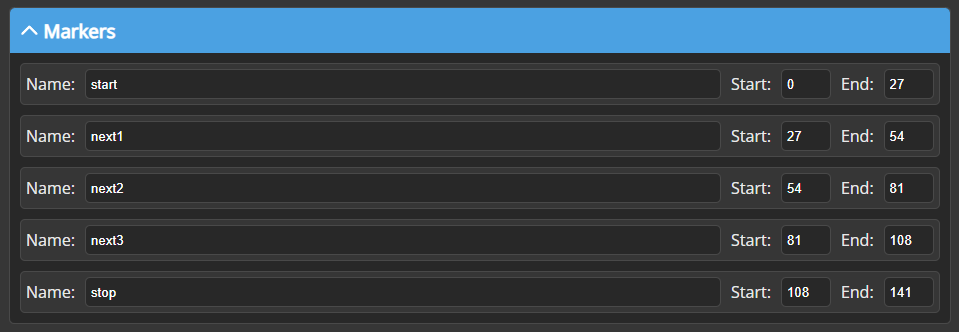
The "Markers" are best to be inspected on the small Timeline and should cover the corresponding parts, so that e.g. CasparCG knows what part is to be played. You can modify markers and lengths of markers inside the "Markers" Tab on the left hand side if necessary, although we recommend to set them up properly in your After Effects Project.
Add External-Sources
You can connect your text-layers to different external sources. This is directly integrated into the template, so no further settings are required on the client side. It loads the source right before playing and of course you can update it with "update" function.
Google Sheets Integration
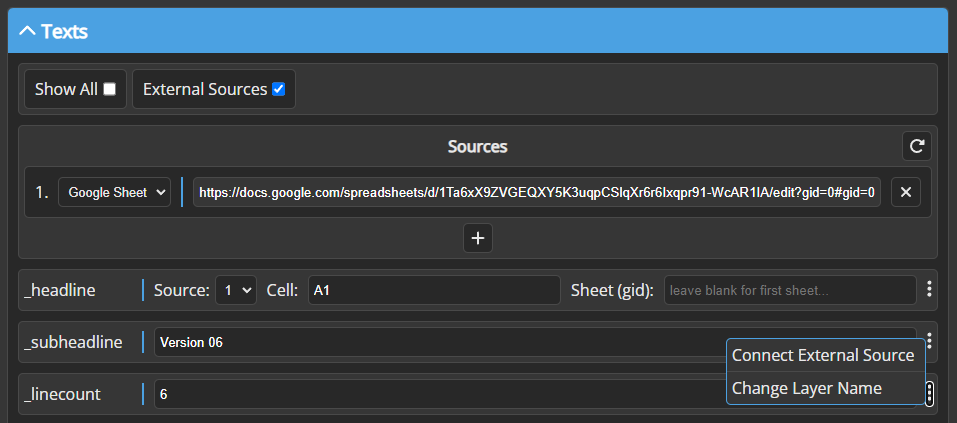
Data fields can now be linked with Google Sheets. Change your data in the Google Sheet, update your animation in CasparCG or SPX, and you’re done! You need to:
- Create a Google Sheet in Google Drive
- Publish you Spreadsheet so everyone with just the link can at least view it
- Copy the link from the url
- Add an external source in Ferryman and paste the link
- Connect the source to as many text layers you want by clicking the "three dots" menu
- Add the specific cell for that layer
Clock Integration
It is now possible to link a data field to a clock. Currently, the available formats are HH:MM:SS and HH:MM in the 24-hour and 12-hour format. AM/PM option is also available.
Analyze Player
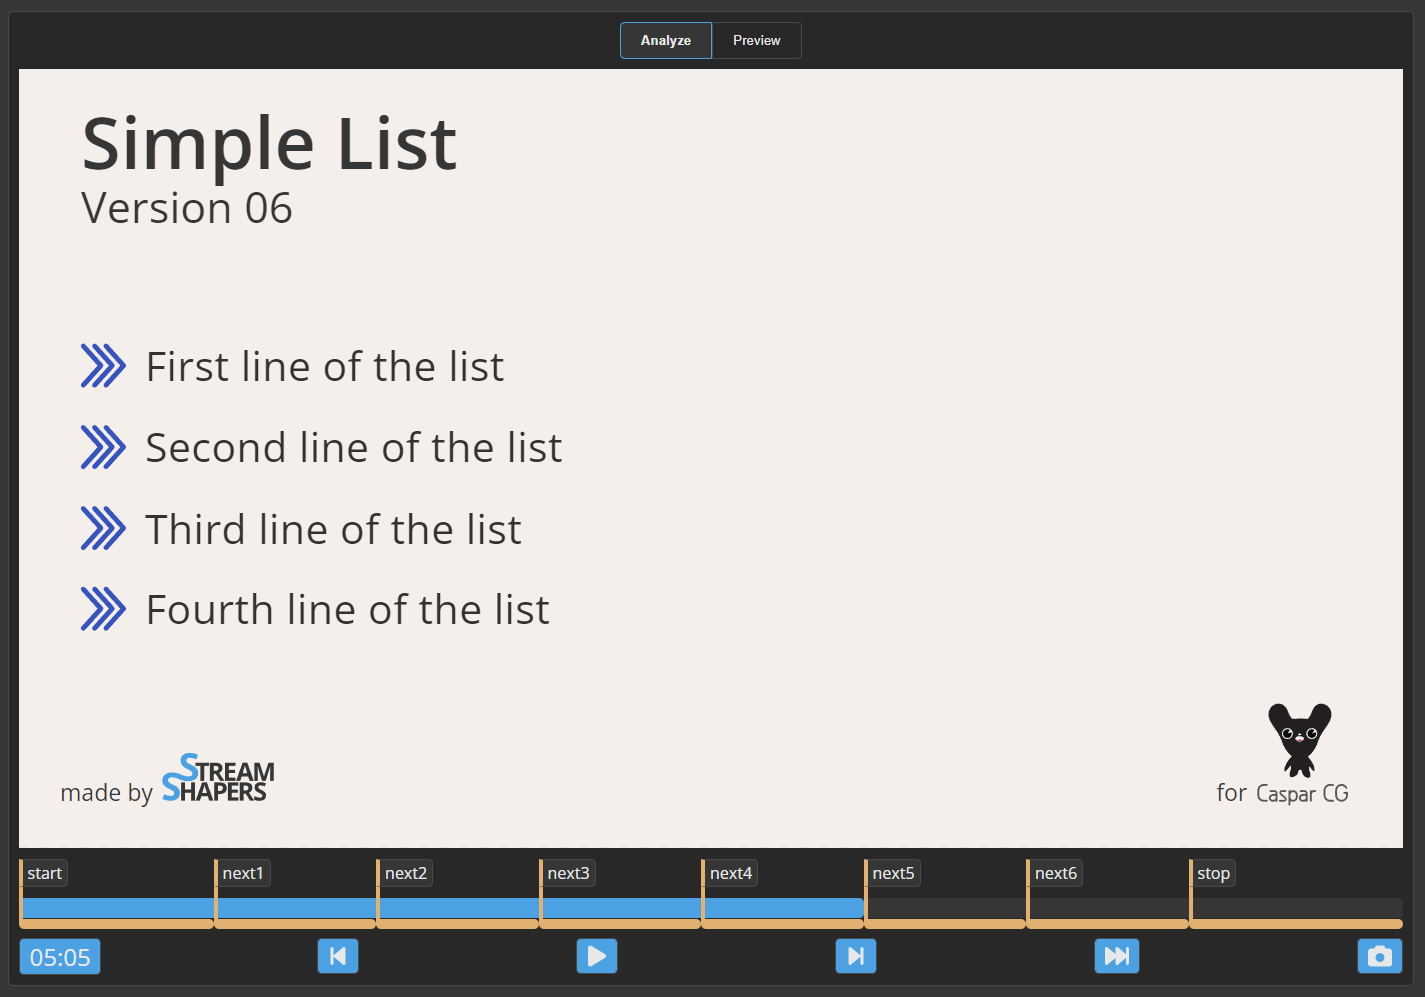 As we use the Lottie Web-Player for displaying the animation inside the converter, as well as inside the HTML-Template and the Player is native to Webbrowsers, your animation preview updates in realtime whenever you change a value on the left-hand side, you can also use the control buttons underneath to navigate the timeline.
Markers
View markers inside the JSON and their duration on the timeline. Click on a marker's name to navigate.
Transport buttons
Navigate through the Animation with the control buttons, the time is shown in seconds and frames ss:ff.
- Frame back - jumps one frame backwards
- Play/Pause - starts or pauses your animation
- Frame next - jumps one frame forward
- Play to next marker - plays your animation and stops at the upcoming marker
- Save current frame - downloads the current output of your animation as .png image to your computer
Preview Player
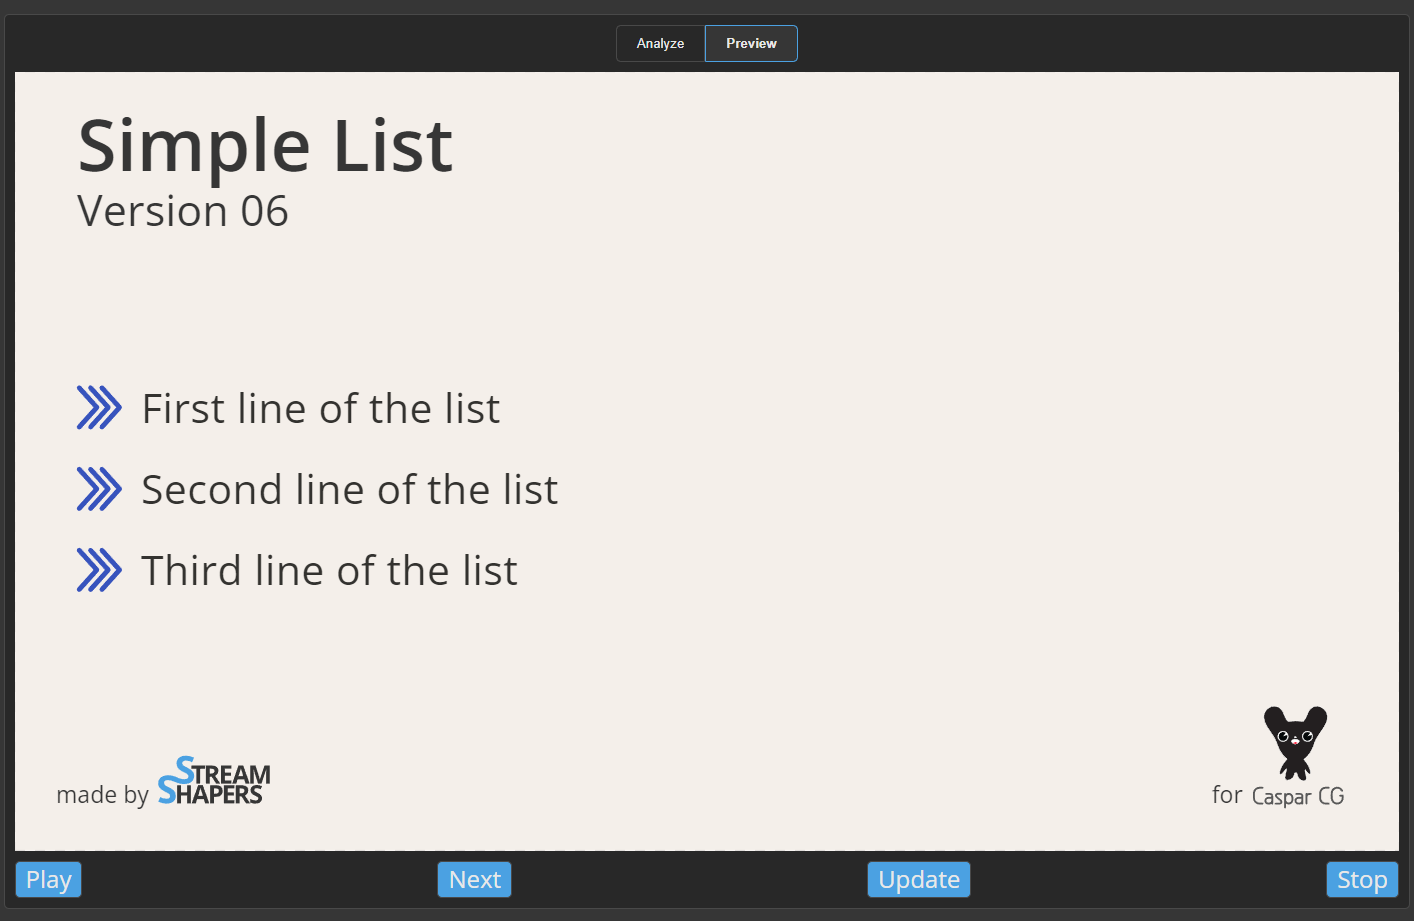
The Preview Player allows you to evaluate exactly how the template will look during playout, directly in Ferryman. Therefore it uses the text-layers as input and plays with the commands you will get from you Client in production (Play/Next/Update/Stop)
Export
General
Once you checked that everything is and works as desired, you should use the Export button in the top-right corner to open the export dialog.
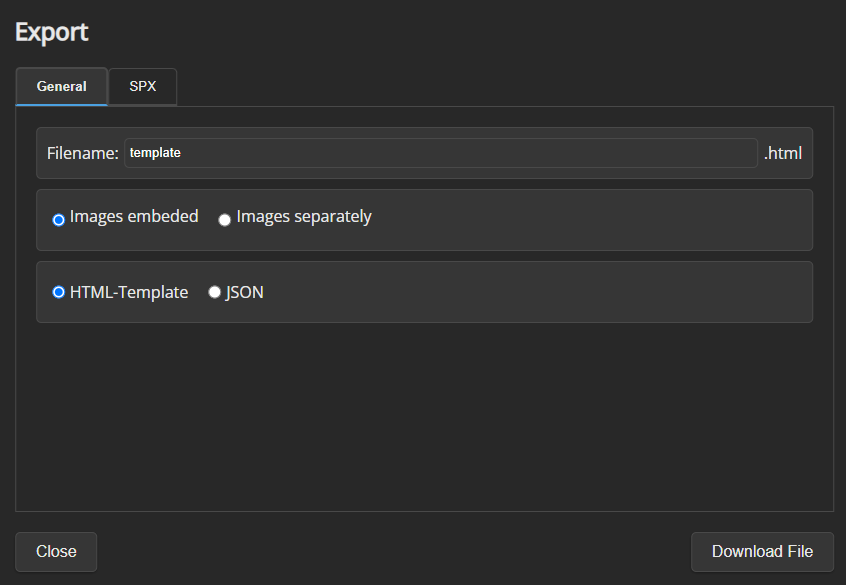
- You will probably want to export your final template with "Images embedded", but if you are planning on interchangeable images in your template, the "Images separately" could be the option you are looking for.
- You will want to choose to Export the "HTML-Template" so that you can playout your template, but if you just wanted to use the converter to inspect your .json and only want your updated .json back, this would be your way to go.
- Finally, click "Export" and wait for your Browser to download your final template.
SPX-GC
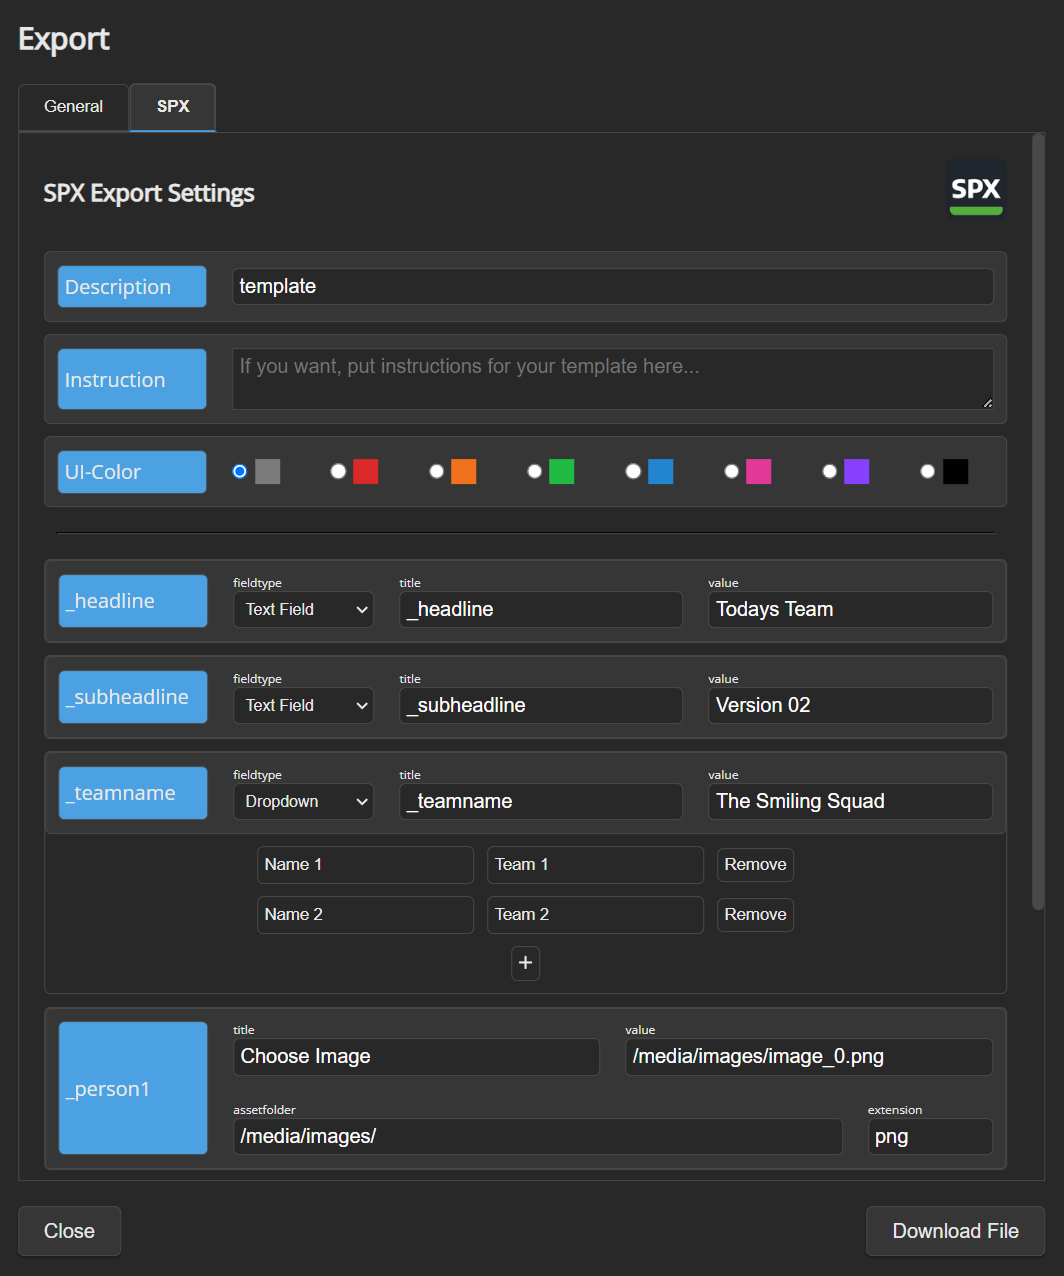
- Add all information you need for SPX-GC to to make your template compatible. For each layer you have to choose the option which than is available in SPX.
Invoke
To get full control over your template you can use the Invoke function in your CasparCG-Client. Use:
playMarker("markerName")
to play a specific marker.
Debugging
We have implemented two special functions into the template that are useful for development.
As you play around with different templates in development, you may forget the exact keys you need for your data. Therefore, we created a "secret" info key. By sending the key
_templateInfo
(the value doesn't matter) the CG Server shows a list of every layer starting with an underscore " _ " . That's how you can check the right keys for your text- and image layers easily if you're using the naming convention with the underscore.
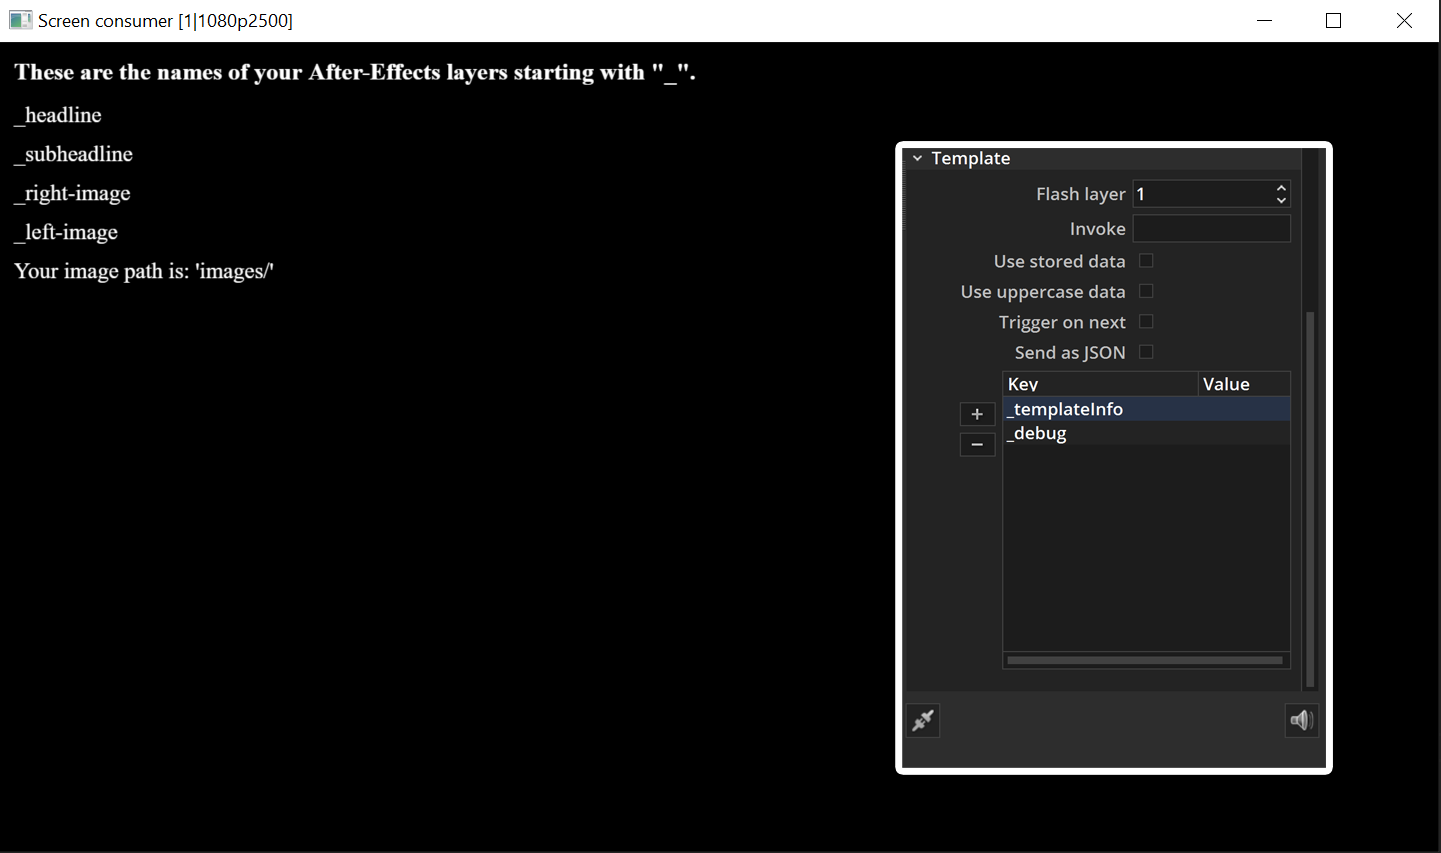
By sending the key
_debug
CasparCG will log information about the playing status in the command line.